
Thursday, May 29, 2008

Easy Peasy Chicken Pot Pie

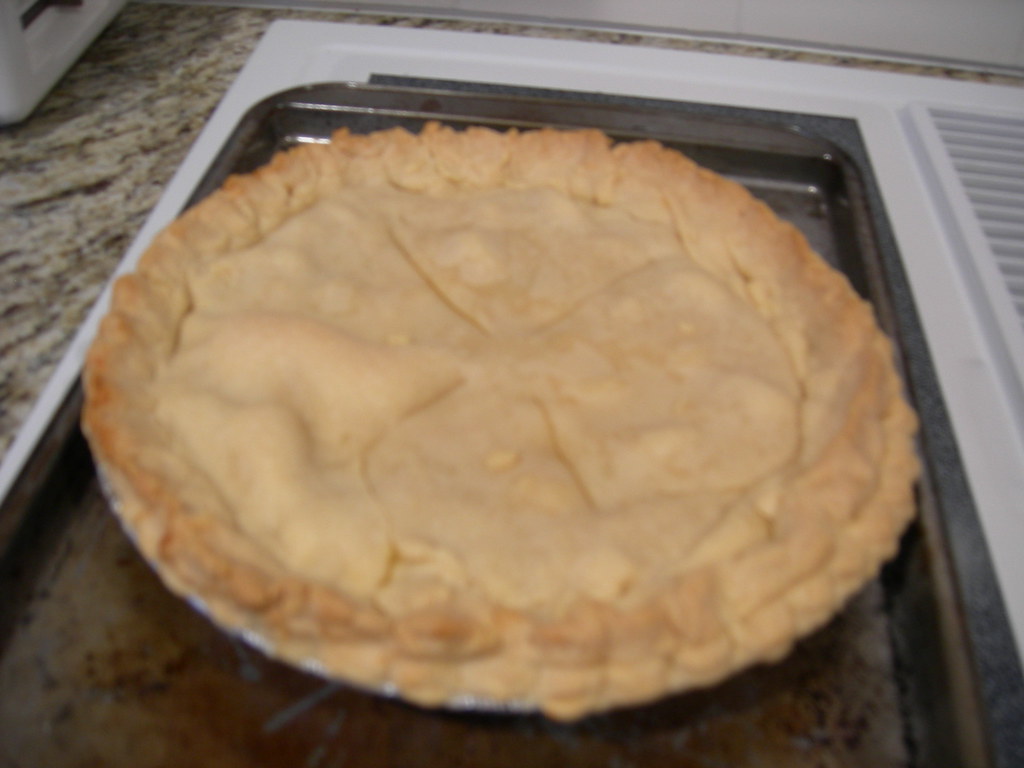
Mention comfort food and chicken pot pie immediately comes to my mind. When it comes to homemade chicken pot pie I grew up on biscuit topped chicken pot pie, which happens to not be my favorite, so it was quite a few years before I decided to make my own. I love a flaky buttery pie crust outside to surround the vegetables, tender chicken and creamy filling. I can never decide which part I like better though, the crust or the filling. It's okay to like them equally though isn't it?

I am a firm believer that I should make most everything from scratch atleast once. Notice, I said most everything. I came up with Easy Peasy Chicken Pot Pie totally off the cuff one day a couple years back and it was so good and so easy peasy, pun intended that I just haven't seen the need to mess with a good thing. If my Big, Bad Dad aka Mr. Picky Eater, who happens to be a huge chicken pot pie fan likes my easy peasy version enough to request it I must be doing something right.
Chicken Pot Pie


Easy Peasy Chicken Pot Pie

1 package deep-dish pie crust (2 crusts)
1 can condensed cream of chicken soup
1 can mixed vegetables
1/2 cup milk
2 chicken breasts, cooked and cubed

Preheat oven as instructed on pie crust package. In a medium bowl, mix together soup, mixed vegetables, milk, and chicken. Stir until combined. Pour into pie crust. Place second crust on top. Pinch edges together. Cut several slits in center of crust.

Bake as directed for double crust pie, or until crust is golden brown.

*You may find that you need more or even a little less milk - some brands of mixed vegetables seem to have more liquid than others. Just make sure your filling is pouring consistency but not runny. I highly recommend placing the pie on a baking sheet before baking to avoid having the ingredients bubble over into the oven. Talk about a mess!

Labels: , , , , , , ,

Sunday, May 18, 2008

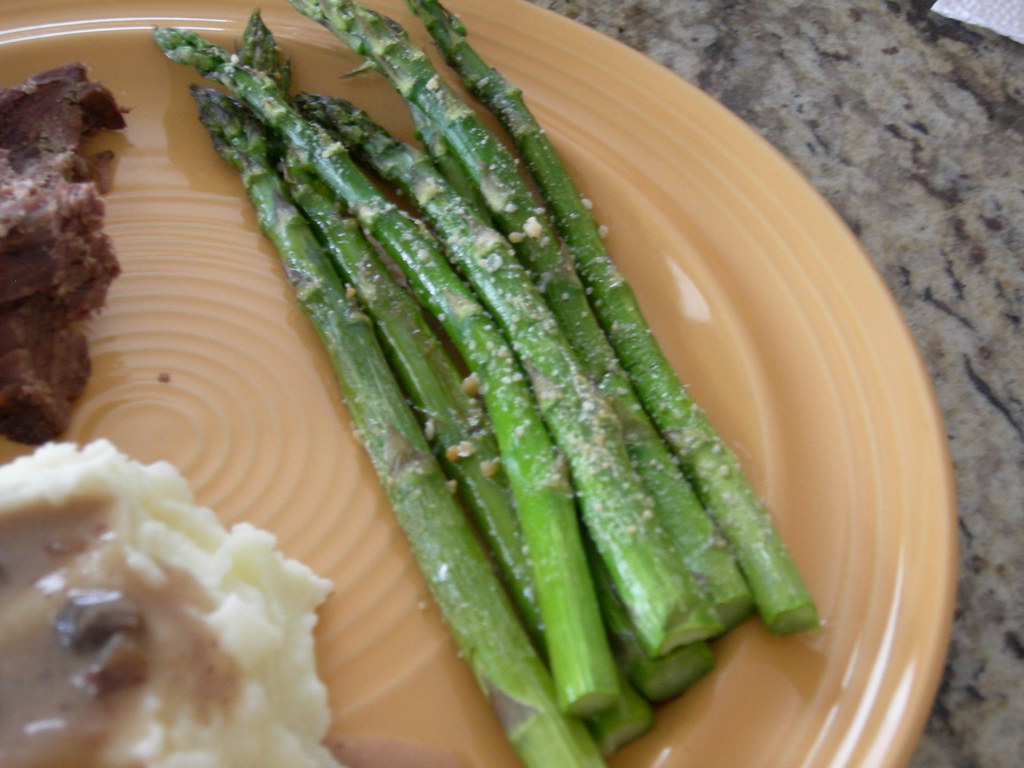
Oven Roasted Parmesan Asparagus

During my foray into the world of asparagus I was quickly smitten. I love vegetables, even as a kid I was never one that had to be forced to eat my veggies. I am admittedly a bit picky about which ones, and especially the preparation of said vegetables. For example, green beans. I love them, and eat them usually atleast once a week. Growing up, my grandfather always planted an adundance of them in his garden, so my grandmother regularly snapped and cooked fresh beans. Toward the end of their growing season she would even can them so we had plenty to last through the winter. The whole family loved them. Me? I ate them, only what was put on my plate the first go round, but when my Big Bad Dad cooked, I'd gladly go back for seconds on the green beans. Why? Because his green beans came from a can! Oh what shame my family must have felt. To this day I still pick canned green beans over fresh.

Let's get back on track though shall we? On to the asparagus, oh those green stalks of deliciousness. I'm taking full advantage of the fact that we're in the height of asparagus season right now, buying it everytime I see it on sale, which is pretty regularly as of late. Asparagus has such a pure and crisp flavor that you really should keep the preparation simple. It doesn't need to be weighed down with lots of spices and seasoning. I think it's at it's best lightly coated in a little olive oil, seasoned with salt and pepper, and roasted or grilled to perfection.

I grabbed a pound not too long ago while shopping and headed to allrecipes for a recipe I could use strictly as a guide for cooking temperature and length. Twenty minutes later, we were eating some seriously delicious oven roasted parmesan asparagus.

Parmesan Roasted Asparagus


Oven Roasted Parmesan Asparagus

1 pound thin asparagus spears
1 tablespoon extra virgin olive oil
1 ounce shaved Parmesan cheese
freshly ground black pepper to taste
1/4 cup balsamic vinegar, or to taste (I omitted this and it was totally NOT missed)

Preheat oven to 450 degrees F (230 degrees C).

Place asparagus on a baking sheet. Drizzle with olive oil, and toss to coat. Arrange asparagus spears in a single layer. Spread Parmesan cheese over asparagus, and season with freshly ground black pepper.

Bake 12 to 15 minutes in the preheated oven, until cheese is melted and asparagus is tender but crisp. Serve immediately on warm plates, sprinkling with balsamic vinegar to taste, if desired.

Labels: , , , , , ,

Saturday, May 17, 2008

Culinarily Obsessed Pizza Kitchen Open For Business

Everybody loves pizza right? Seriously, I don't think I know a single person who doesn't admit they love pizza. Even the picky eaters I know enjoy cheese pizza at the very least. Me? I can't say I enjoy cheese pizza, but I love it pretty much any other way. Top it with every meat you can think of, I'm in. Just pepperoni? I'm not shy to grab the first slice. You're offering up a supreme? Yum-o!

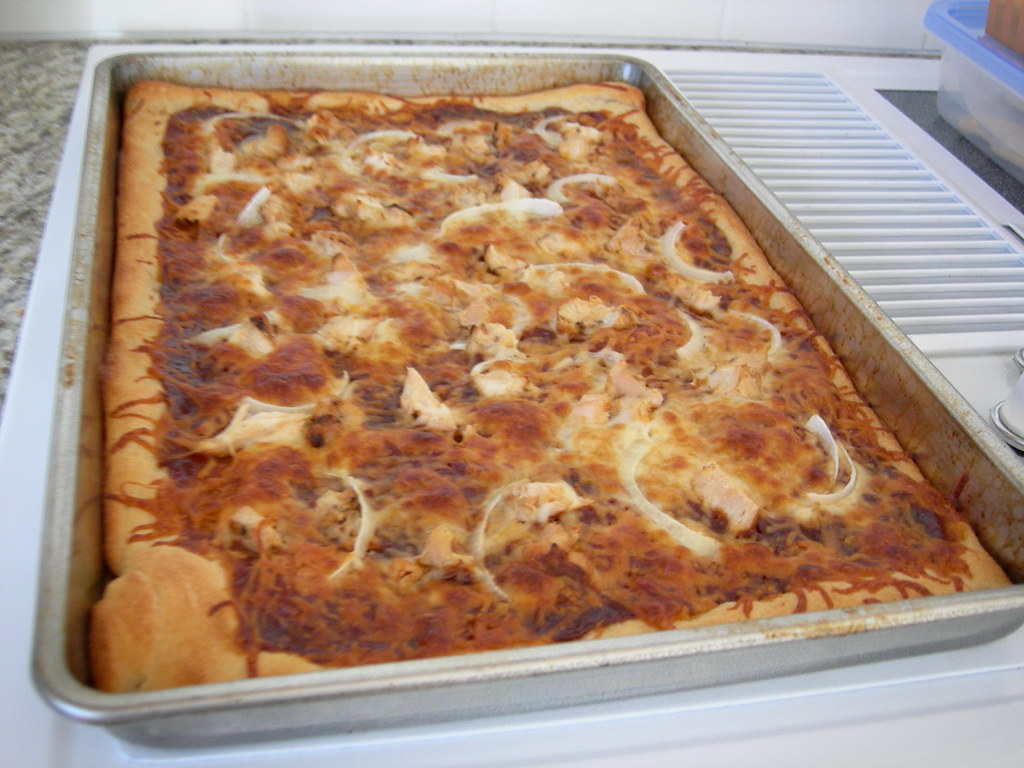
I'm a Carolina girl through and through so I know nothing of that whole NY vs Chicago thing, but give me a slice of each and I'll gladly do a taste test. My most favoritest kind though is hands down barbeque chicken pizza. I can't be sure but I think the famed California Pizza Kitchen may be to credit for the delicious creation. That's definitely where I tried and fell in love with the stuff. But since I live not so close to a CPK and the only one remotely local is in the mall, which everyone knows is a dangerous place for a woman, I figured it best to star making my own. I haven't tried my version next to the CPK version of barbeque chicken pizza, but from my mouth-watering memories my version tastes pretty darn close. The best part? Besides that I'm saving money and potentially serious credit card debt, my Barbeque Chicken Pizza is easy peasy.

Somehow even with my serious cookbook addiction I didn't know that California Pizza Kitchen had their own cookbook, but turns out they do. You can preview excerpts of the book on Amazon, so if you love pizza go check out what mouthwatering recipes you can make at home from The CPK Cookbook. And it turns out they've got a new cookbook geared toward family cooking due out in August called California Pizza Kitchen Family Cookbook
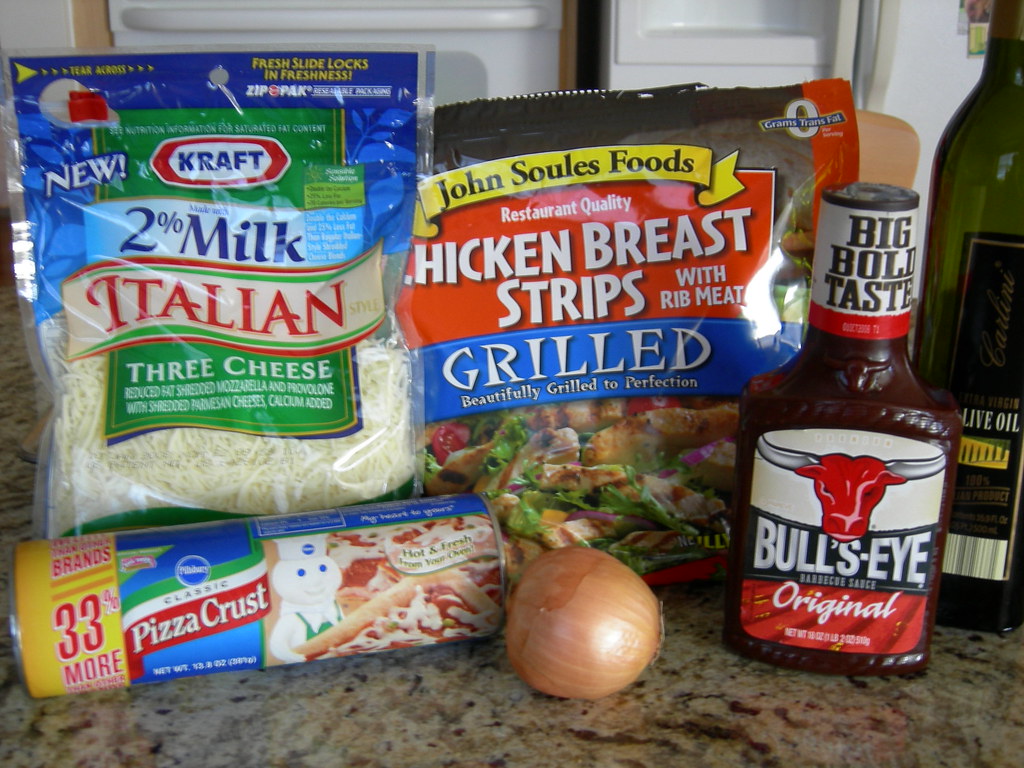
bbq chicken pizza ingredients
The ingredients


bbq chicken pizza
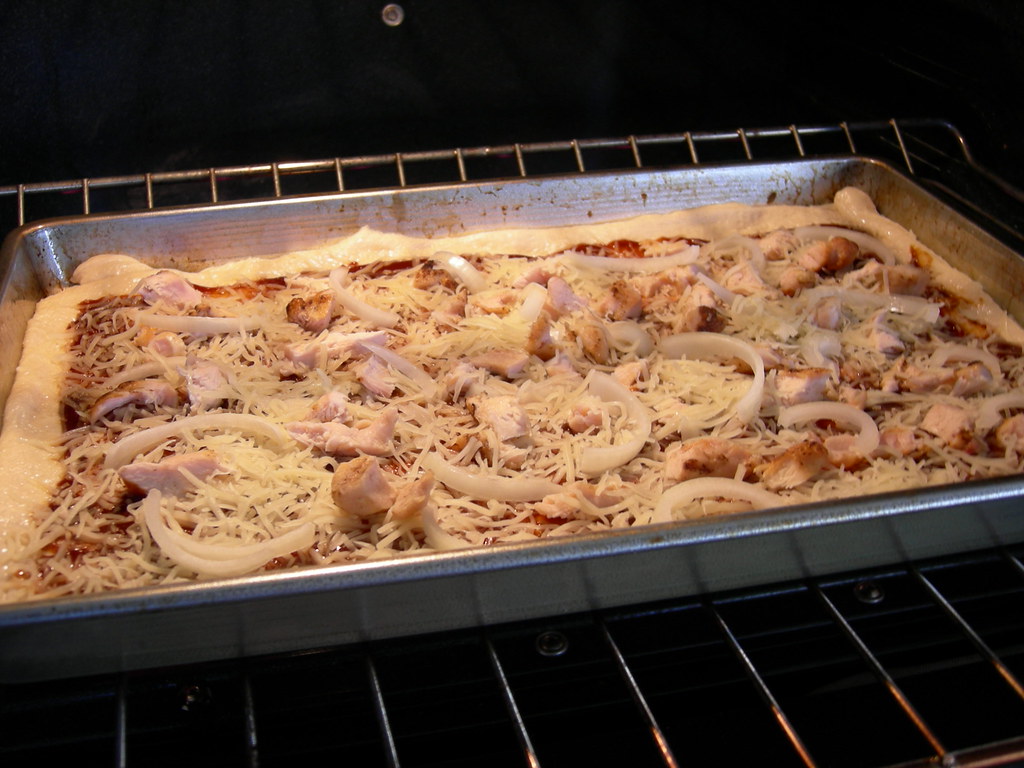
Going in the oven!


bbq chicken pizza
Can we dig in already?


BBQ Chicken Pizza

1 pre-made pizza dough (I suggest Pillsbury in with the refrigerated canned biscuits)
1/4 c bottled barbeque sauce (more or less to suit your taste)
1/2 of small thinly sliced onion
pre-cooked chicken, cut into bite size chunks
1-1 1/2 c shredded italian blend or pizza cheese

Preheat oven according to dough directions. Grease or spray pan with non-stick spray. Flatten dough into pan, pinching up slight edges. Spread barbeque sauce evenly onto dough using just enough for a thin layer, be careful not to go all the way to edge of dough. Spread chicken pieces evenly over sauced dough, top with cheese. Scatter onion over cheese. Bake according to dough package instructions. Allow to cool slightly before serving.

Ok, did I just use two Rachael Rayisms in one post? And I'm not even a fan! That should tell you how much I love this pizza.

Labels: , , , , , , , ,

Saturday, May 10, 2008

Whaddya Know Joe

Sloppy Joes


Growing up I loved Sloppy Joes. But what kid doesn't? The sweet, tangy, and sometimes extremely messy sandwiches were a rare treat around our house so when I did get to eat them, they were all the better. Since I'm the sometimes meal planner these days I try to sneak in much loved treats like Sloppy Joes. And, since I'm a big fan of searching out simple and highly rated recipes on Allrecipes I decided to skip the store-bought stuff and seek out a from-scratch recipe there when I got a recent craving.

As with most recipes on the site, there were several variations so I chose the one that sounded like it would suit me and the Big Bad Dad aka my Picky Eater best, which was Sloppy Joes II. I made slight changes to the recipe. After I got everything into the pan it just didn't seem to have enough juice for my liking, so I ended up using a total of 1 cup of ketchup and adding a half cup of water. We didn't really notice the flavor of the bell pepper, which was fine it didn't seem to be lacking because of it, but next time I'll either omit the pepper or make sure I just cut it into bigger chunks. These homemade Sloppy Joes were a little sweeter than the store-bought stuff, so if you think you might not be too keen on that I would suggest cutting back on the brown sugar a bit or adding a little extra mustard.

I always remember eating potato chips with Sloppy Joes growing up, and for some reason Ruffles stick out in my mind - don't ask because I really couldn't tell you why. Maybe I just prefer Ruffles to regular chips? Or not even Ruffles, Wavy Lays, yes, it's the Wavy Lays I prefer. But that's so beyond my point. I decided to take a healthier route but still wanted to serve some form of potato, so I seasoned and roasted some Russets.

MmmMmmm dinner was so good that night!

Sloppy Joes

1 pound lean ground beef
1/4 cup chopped onion
1/4 cup chopped green bell pepper
1/2 teaspoon garlic powder
1 teaspoon prepared yellow mustard
1 cup ketchup
3 teaspoons brown sugar
1/2 cup water
salt & pepper to taste

In a medium skillet over medium heat, brown the ground beef, onion, and green pepper; drain off liquids.

Stir in the garlic powder, mustard, ketchup, brown sugar, and water; mix thoroughly. Reduce heat, and simmer for 30 minutes. Season with salt and pepper.

Oven Roasted Potatoes

1 lb Russet potatoes, but into 1 inch cubes
Olive oil
seasoned salt to taste
sea salt to taste

Preheat oven to 425. Drizzle cubed potatoes with just enough oil to coat. Toast to coat evenly and place on non-stick baking sheet, sprinkle with salts and pepper.

Roast for 30-40 minutes or until tender and golden brown.

Labels: , , , , , , , , ,

Sunday, April 13, 2008

Slow Cookin' Goodness

So let's play a little catch up shall we? The economy sucks, so the job hunt has been on like crazy in my Culinarily Obsessed house. But the cooking continues, more than usual actually. Funny thing about having to watch your budget, keeps you from eating out as much, thus you're in the kitchen more. But hey, I'm not complaining, I get to try out new recipes, save money and eat healthier than I would have by going out.

One of those new recipes I tried a while back was a yummy pot roast recipe. For a long while, the use of the slow cooker was left to my Big Bad Dad aka Mr. Picky Eater. It's a simple appliance, but I never touched the thing, I was always worried I'd undercook or worse overcook something. I've started using the thing and I'm starting to like it. Another thing I like, no scratch that I LOVE is AllRecipes. It is definitely my go-to site when I'm searching for a recipe. A while back I spotted a slow cooker pot roast recipe that had about a bazillion rave reviews, so I figured I had to give it a shot, I mean how can a bazillion people be wrong about a recipe yanno?

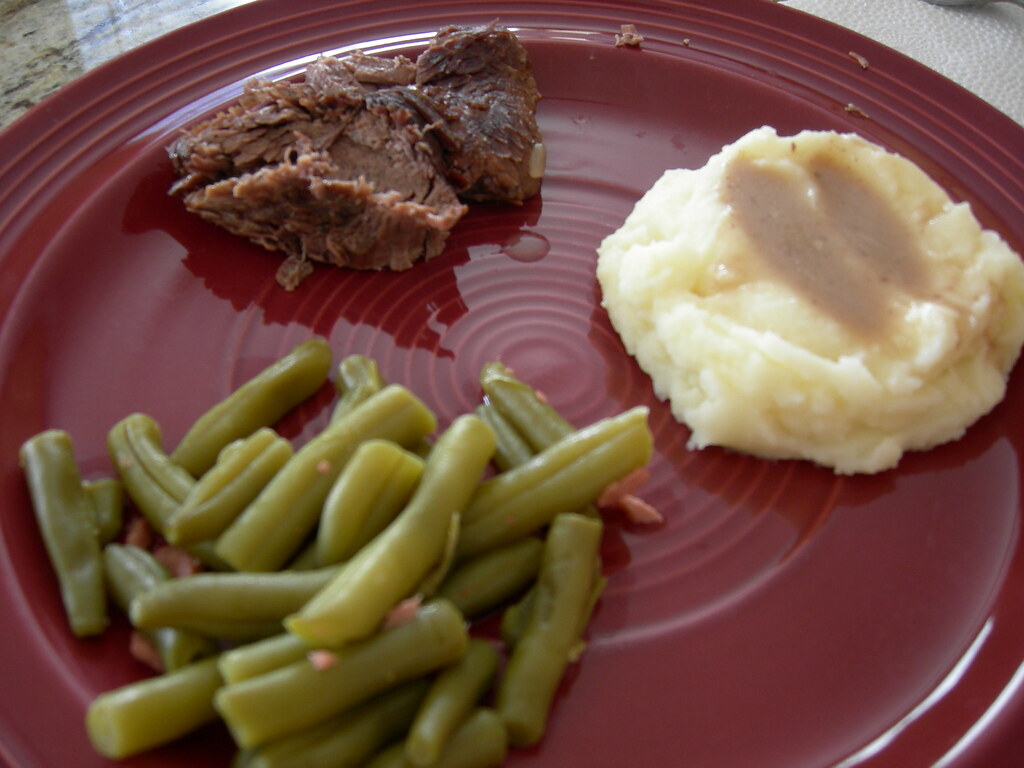
awesome slow cooker pot roast dinner


Awesome Slow Cooker Pot Roast

2 (10.75 ounce) cans condensed cream of mushroom soup
1 (1 ounce) package dry onion soup mix
3/4 cup water
5 1/2 pounds bottom round roast

In a slow cooker, mix cream of mushroom soup, dry onion soup mix and water. Place pot roast in slow cooker and coat with soup mixture.

Cook on High setting for 3 to 4 hours, or on Low setting for 8 to 9 hours.

A lot of the review critiqued the "gravy" in the recipe which didn't turn out to be much of a gravy in my opinion. I served the pot roast alongside mashed potatoes, and the so-called gravy, which was flavorful was great mixed into the potatoes. It was hardly thick enough to be considered a gravy though, but hey I'm not complaining. Will this be a repeat for us? Oh yeah.

Labels: , , , , ,

Saturday, November 17, 2007

Collecting My Coins

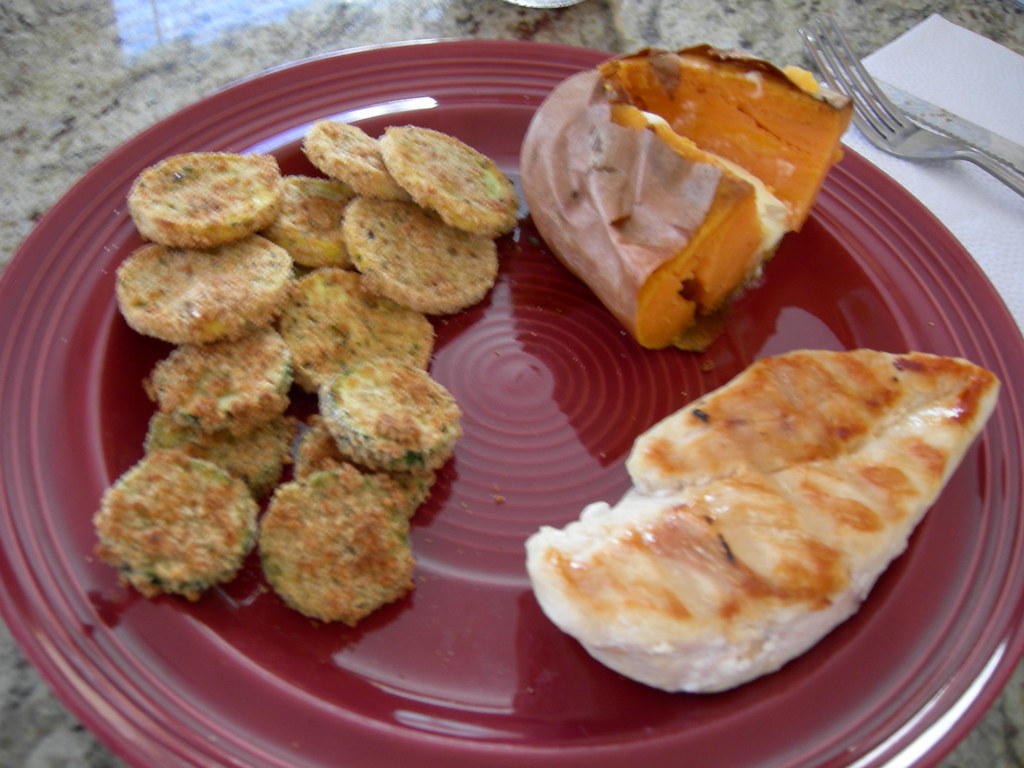
I do a lot of blog browsing, and with all the wonderful food blogs out there I'm constantly stumbling onto new ones. With all those food blogs comes the discovery of many new recipes and the reminder of quite a few others that I already know and love, but maybe sometimes let fall to the back of my mind. One of those new recipes I found recently was over at Janet Is Hungry. I can't recall how I found her blog, but Janet has a recipe for baked zucchini coins that immediately caught my eye.

sqaush & zucc coins


I love, capital L-O-V-E zucchini, and I thought this recipe would work perfectly with crookneck squash, another one of my favorites. For forever since I can remember fried squash has been one of my very favorite foods, but being that it's DEEP FRIED I try to refrain from eating it very often, so when I found this recipe it seemed like the perfect concept. I simplified the recipe a little, using storebought breadcrumbs and added a dash of Montreal seasoning. I've made the recipe twice and the first time around I loved it, but my Big, Bad Dad had a minor complaint and a few suggestions. He didn't care for the seasoning, saying the inclusion of sage in the spice blend made it taste like "Thanksgiving". "What's wrong with that???" I ask! Big, Bad Dad's suggestion? "Next time I think it would be better if you just breaded them in plain cornmeal." So that's what I did, but take my word for it, you should not, not, not use just cornmeal. Unless of course you want your zuccs and squash to taste like uncooked cornmeal. Yeah, not a good flavor, but at the last minute we stuck them under the broiler so they weren't a total loss. From here on out, it's breadcrumbs all the way in this recipe for me.

Baked Squash and Zucchini Coins

1/2 plain breadcrumbs
Montreal seasoning to taste
1 zucchini
1 yellow squash
1 egg
olive oil

1. Mix breadcrumbs and seasoning on a plate.

2. Beat egg in a small bowl.

3. Slice zucchini and squash into 1/4" thick coins.

4. Dip zucchini and squash into egg and then into breadcrumb mixture.

5. Coat a parchment lined cookie sheet with a couple of tablespoons of olive oil. Arrange zucchini and squash coins on cookie sheet and back at 425 for about 10 minutes per side, until golden brown.

Labels: , , , , ,

Friday, November 16, 2007

Happy Fall Y'all!

While the beautiful and vibrant foliage has given the appearance of fall, the chilly, blustery weather typical of the season has been an on-again off-again thing for us over the past several weeks. But it seems that we are finally settling into the season, with nighttime temperatures starting to fall into the 30's and the North Carolina mountains receiving a rather abrupt snowfall just a few days ago. Can I just say, thank goodness I don't live in the mountains right about now?

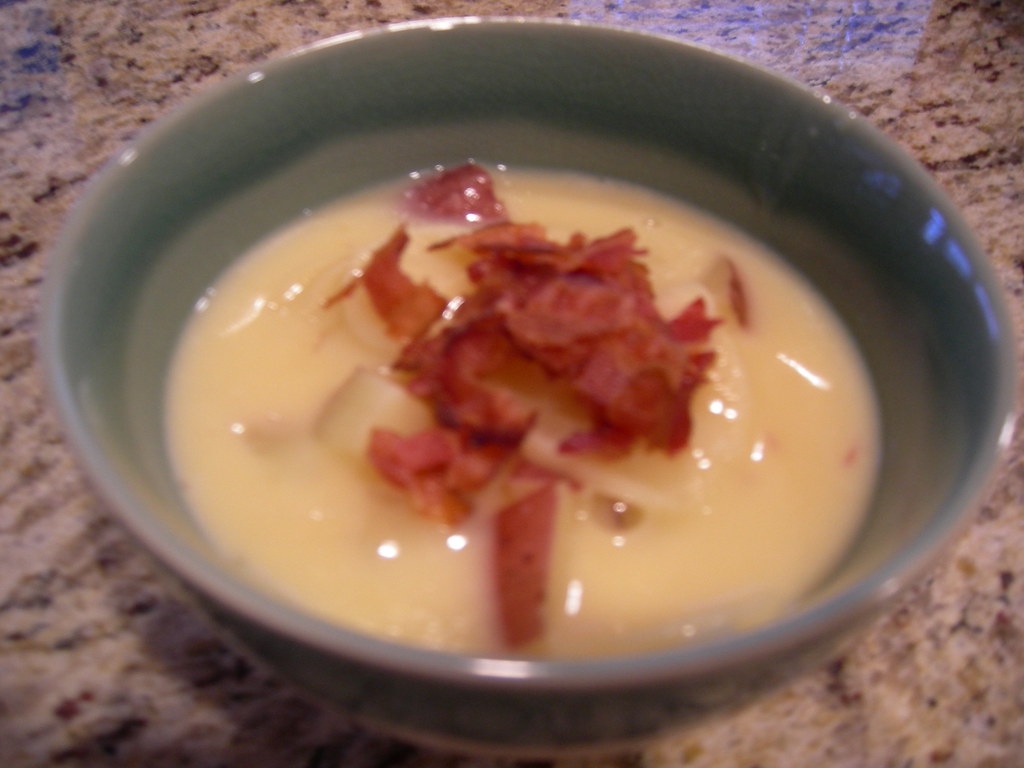
You may remember, a few weeks back I tested out Beef and Beer Chili in anticipation of the forthcoming chilly weather, no pun intended. Well, earlier this week as I started to accept the fact that I must begin waving a sad goodbye to my cute tank tops, shortsleeve blouses, adorable capris and oh-so loved shorts of summer and start dragging out my sweaters, scarves, gloves and other cold weather clothes I developed a craving for something hearty and warm you straight to the bone. I could think of nothing better than soup, so I whipped up a batch of my easy Au Gratin Potato Soup. My inspiration comes from a very similar recipe I found on Allrecipes. My changes were pretty simple and fairly minor but changed the flavor a bit and took away some of the fat and calories, but left the soup lacking nothing in my opinion. I don't think I'm too far off in saying that either, as I got no complaints or criticism from my Big, Bad Dad, he even went back for seconds.

au gratin potato soup


Au Gratin Potato Soup

4 medium red skinned potatoes, cubed
1 (5.5 ounce) package au gratin instant potato mix
1 (10.5 ounce) can condensed chicken broth
1 1/2 cups water
1 cup milk (2% is suitable)
crumbled cooked bacon (2 strips per bowl)

In a large saucepan or pot, combine potatoes, au gratin potato mix, chicken broth and water. Add more water to cover if necessary. Cook over medium heat, stirring occasionally, until potatoes are tender, about 40 minutes. Stir in cream and heat through. While soup is cooking, prepare bacon, drain grease and crumble. Serve with bacon crumbles on top.

Labels: , , , , ,

Monday, October 15, 2007

Kick-Off To Fall

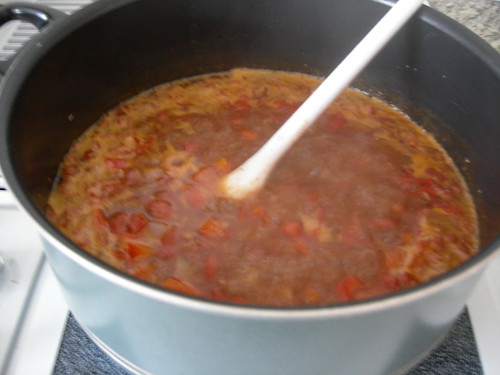
hearty beef & beer chili


I'm so not a fan of the cold weather months, so this recent fall cool down we've been experiencing is not a welcome feeling for me. Yes, it's nice not breaking into a sweat everytime you walk outside. But knowing that fall has arrived has always been bittersweet to me because I know winter and nearly freezing temperatures will be here before I know it. One of the few things I enjoy about fall and winter is that it's cool enough that I can actually enjoy eating chili and soups. For whatever reason I've always left the soup and chili cooking to my Big Bad Dad, but last week I decided to tackle chili making myself, with a recipe I found from Cooking Light.

I made a few changes to the original recipe, adding a bit more cornmeal for thickening as the specified amount did nothing to actually thicken the chili, and I used diced tomatoes prepared especially for making chili which had peppers added. Also, I started cooking so that it was ready about an hour early, then I just cut it off and left the pot on the burner so that the flavors had a little more time to develope. That part was key, although I'm sure if you didn't have the extra hour to spare the chili would have still been good. It wasn't the best I've ever had, I think the spices need a bit of tweaking, but I will definitely make this recipe again.

As an aside, since there are just two of us and the recipe makes a decent size pot, I decided to use some of the leftovers for making nachos. They came out delish and were super quick, I just heated the chili then layered corn chips in a baking dish, added some of the chili, then some salsa and cheese, then another layer of the chips and so forth. I popped them under the broiler for a few minutes to heat everything through and get the cheese all bubbly. Yum!

Beef and Beer Chili


Cornmeal helps thicken the chili to a satisfying consistency. Serve with a chilled lager. Time: 41 minutes.


1 1/2 cups chopped red onion (about 1 medium)
1 cup chopped red bell pepper (about 1 small)
8 ounces extralean ground beef
2 garlic cloves, minced
1 1/2 tablespoons chili powder
2 teaspoons ground cumin
1 teaspoon sugar
1/2 teaspoon salt
1/2 teaspoon dried oregano
1 (19-ounce) can red kidney beans, drained
1 (14.5-ounce) can diced tomatoes, undrained
1 (14-ounce) can beef broth
1 (12-ounce) can/bottle beer (I used Miller)
1 tablespoon yellow cornmeal (I used 1 1/2 Tbsp)
1 tablespoon fresh lime juice (omitted)

Combine first 4 ingredients in a large Dutch oven over medium-high heat. Cook 5 minutes or until beef is browned, stirring to crumble. Stir in chili powder, cumin, sugar, and salt; cook 1 minute. Add oregano and next 4 ingredients (through beer) to pan; bring to a boil. Reduce heat, and simmer 15 minutes. Stir in cornmeal; cook 5 minutes. Stir in juice.

Labels: , , , , ,

Monday, April 17, 2006

Whole Lotta Enchiladas!

If you would have showed up at our house the other night, you would have thought we were enchilada crazy. I've been wanting to make chicken enchiladas for a while, but as is often the case with me, for one reason or another I just never got around to it. Well, enough was finally enough. I was tired of just craving them, I was ready to actually make and eat them. So I found a recipe on allrecipes.com, which seems to be my goto site when I'm craving something & don't have a recipe handy. While I was there I thought I'd look around for a recipe for something sorta easy & mexican-ish I could make for dessert. And what did I find?? Yup, you guessed it - a recipe for dessert enchiladas, Apple Enchiladas to be exact.

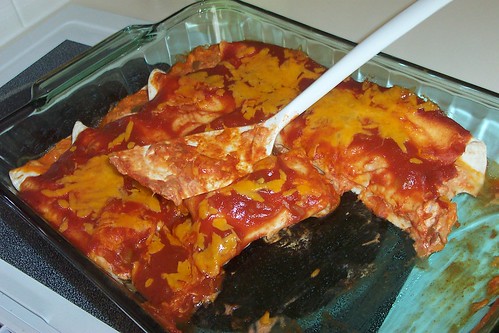
Chicken EnchiladasI took a short cut with the chicken for the Chicken Enchiladas. Harris Teeter has whole roasted chickens for $3.99 each every Sunday, so I figured that would be a good deal, save me lots of time considering I would have no chicken to clean, cook and then cool before actually starting my enchiladas. Overall, I thought they were really tasty & will probably use this recipe again. As I was making the filling, I found that it definitely didn't need the water that the recipe calls for. I used Velvetta, as I didn't have enough cheddar & it tasted fine, but that could possibly explain why I needed to omit the water. If you wanted to add some black or pinto beans to the filling, or maybe even some rice, that would probably be good. We had some leftover spanish rice from the night before, so I heated that up & served it on the side. Pretty tasty!

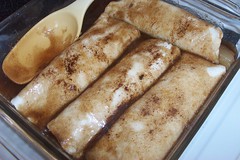
Apple EnchiladasThe Apple Enchiladas were super easy & made a nice ending our mexican feast. It wasn't a to die for recipe, but it will possibly make a repeat appearance, sometime when we decide to do another mexican night.


Chicken Enchiladas

4 cooked chicken breasts or 1 whole roasted chicken
1 onion, chopped
1/2 pint sour cream
8 oz Velvetta, cubed
1/2 teaspoon dried oregano
1/2 teaspoon ground black pepper
1/2 teaspoon salt (optional)
1 (15 ounce) can tomato sauce
1 tablespoon chili powder
1/3 cup chopped green bell pepper
8 (10 inch) flour tortillas
1 (12 ounce) jar taco sauce
3/4 cup shredded Cheddar cheese

Preheat oven to 350 degrees F (175 degrees C).

Cube chicken & place in a medium skillet. Add the onion, sour cream, Velvetta, oregano and ground black pepper. Heat until cheese melts. Stir in salt, tomato sauce, chili powder, and green pepper.

Roll even amounts of the mixture in the tortillas. Arrange in a 9x13 inch baking dish. Cover with taco sauce and 3/4 cup Cheddar cheese. Bake uncovered in the preheated oven 20 minutes. Cool 10 minutes before serving.


Apple Enchiladas

1 (21 ounce) can apple pie filling
6 (8 inch) flour tortillas
1 teaspoon ground cinnamon
1/3 cup margarine
1/2 cup white sugar
1/2 cup packed brown sugar
1/2 cup water

Preheat oven to 350 degrees F (175 degrees C).

Spoon fruit evenly onto all tortillas, sprinkle with cinnamon. Roll up tortillas and place seam side down on lightly greased 8x8 baking pan.

Bring margarine, sugars and water to a boil in a medium sauce pan. Reduce heat and simmer, stirring constantly for 3 minutes.

Pour sauce evenly over tortillas; sprinkle with extra cinnamon on top if desired. Bake in preheated oven for 20 minutes.

Makes 6 large tortillas; may be cut in half to serve 12.

*As side note, I apologize to everyone for having to endure the horrible, awful photos that accompany this post. As I may have mentioned before, my camera is trying to punish me by dying it seems. If anyone is knowledgable about low to moderately priced digital cameras, shoot me an email. I would appreciate any help or suggestions anyone may have as I shop for a new one!

Labels: , , , , , ,

Directory of Food/drink Blogs Food & Drink Blogs - Blog Top Sites